This part of the Guide Fallout 4 : Far Harbor is devoted to the main quest "Better to forget". You go in search of the forgotten memories of Dima, hidden in a very complex simulation.
Related Quests: "Purge the Land", "Life Should Be Like This", "Find the Tactical Marine Armor"
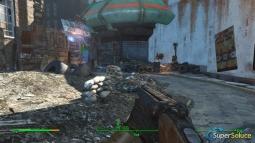
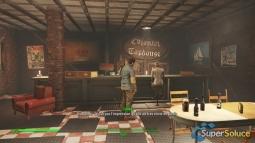
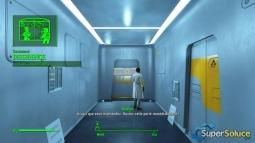
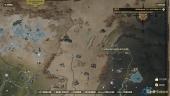
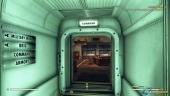
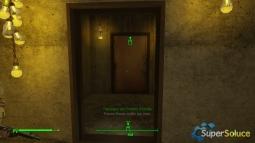
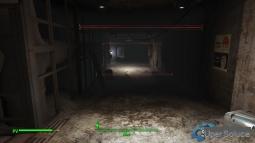
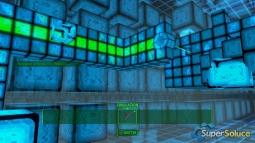
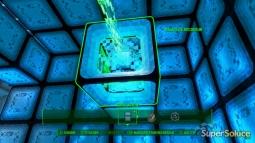
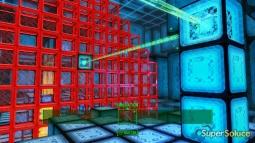
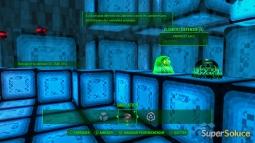
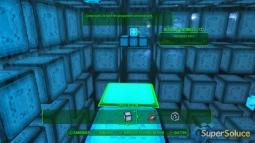
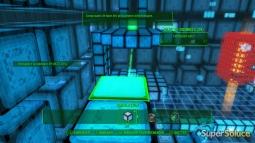
After activating this quest, go to the Core and then head to the control center located upstairs, on the south side of the area (picture1). Inside, move towards the security lasers and avoid them to be able to reach the end of the corridor (picture2).
1 picture
2 picture
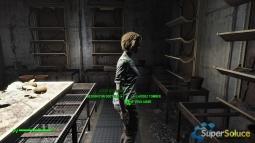
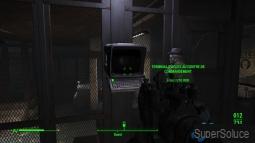
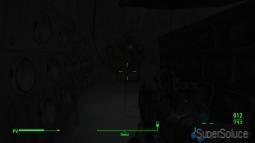
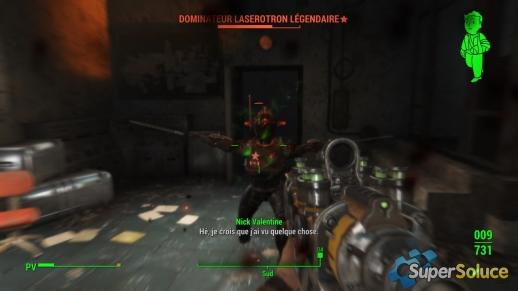
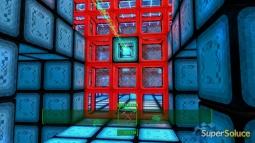
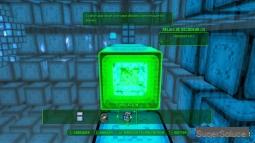
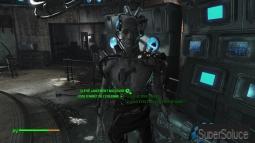
Then continue to move forward until you reach the access terminal in the center, use it to unlock the door (picture3). On the other side of it, open the door on the left and repair the power switch, at this moment, a legendary Laserotron will appear to attack you (pictures4-5).
3 picture
4 picture
5 picture
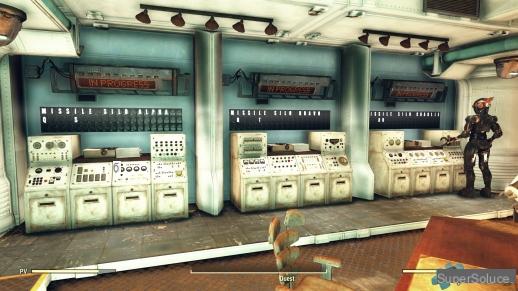
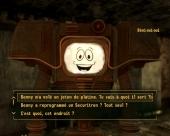
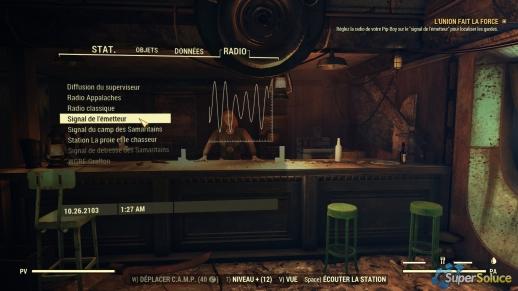
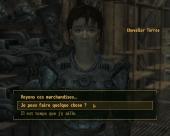
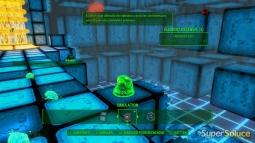
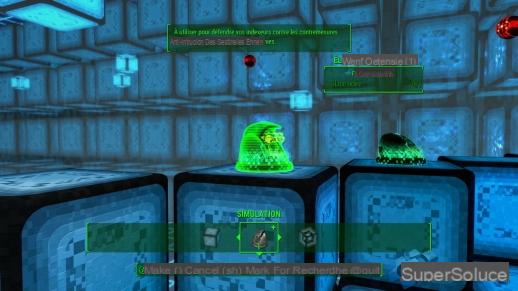
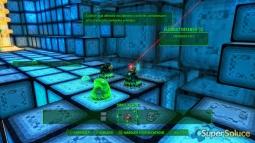
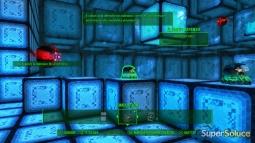
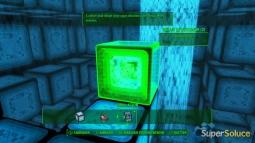
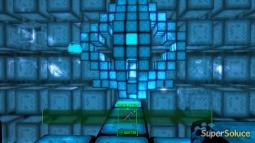
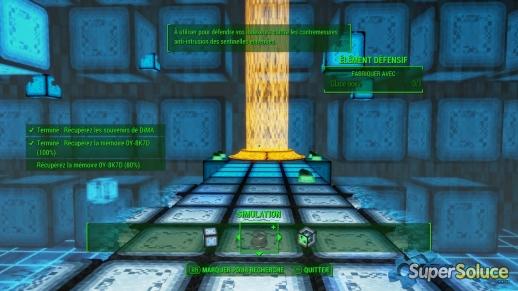
After eliminating him, use the Faraday program on the main terminal and read the first memory to start the simulation (pictures6-7). From then on, you will have to manage to unlock each of the memories to obtain all the information hidden by Dima.
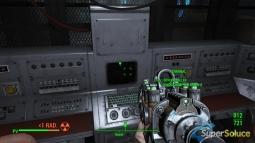
6 picture
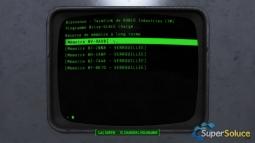
7 picture
1 Memory
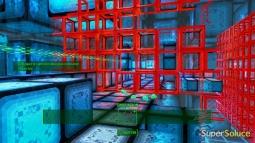
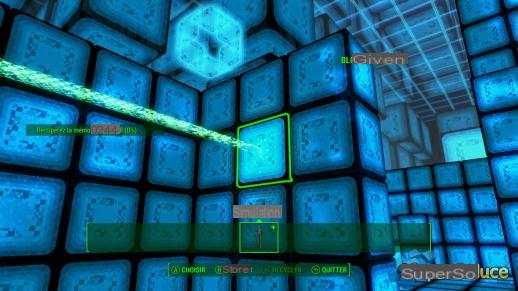
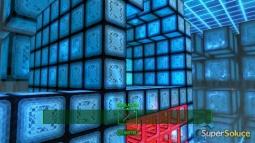
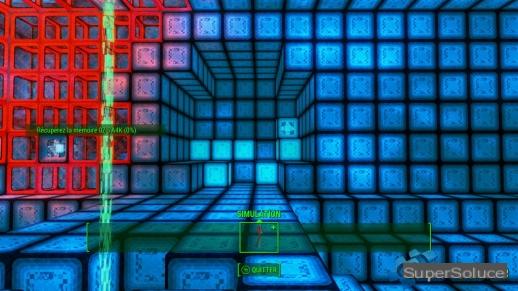
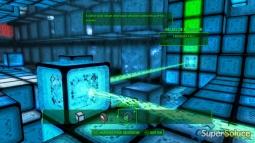
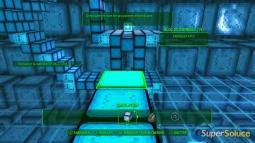
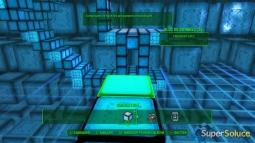
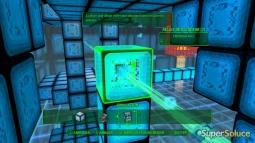
Start by collecting blocks of data from the surrounding area and build a bridge for your collectors (picture8). Then retrieve the block preventing the ray from reaching the firewall (picture9).
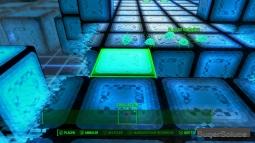
8 picture
9 picture
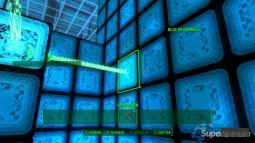
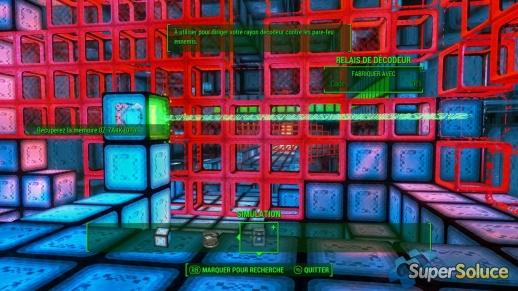
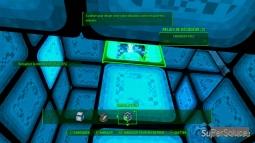
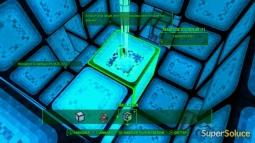
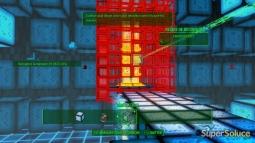
Then all you have to do is recover the decoder relay and place it in the right direction to destroy the second firewall (picture10). Once this is done, build a bridge for the collectors and then place 3 turrets near the data and two others near the arrival point (picture11). Once the data is downloaded, cross the beam to go to the next memory.
10 picture
11 picture
2 Memory
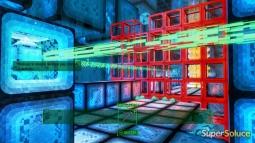
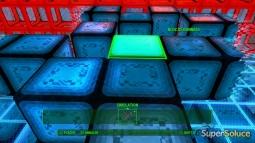
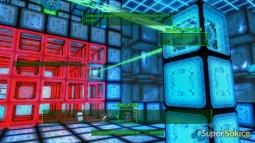
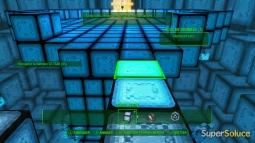
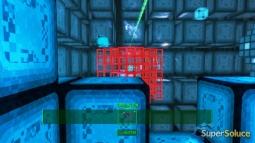
Go to the lower level and remove the block of data blocking the beam (picture12). Once this is done, go to where the beam stops and remove another block to allow it to pass (pictures13-14).
12 picture
13 picture
14 picture
Once this operation is completed, place a relay on the block on the other side and remove the data block on the right (picture15). Now go to the other side of the firewall and build a bridge for the collectors (picture16).
15 picture
16 picture
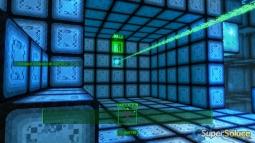
Then step back a few steps and place a block against the wall to position a new relay, in this way, you will divert the beam towards the last firewall (picture17). From then on, complete the bridge for the collectors and then place 3 turrets near the data bank, then move back to the previous area and place two other turrets on the right (pictures18-19).
17 picture
18 picture
19 picture
3 Memory
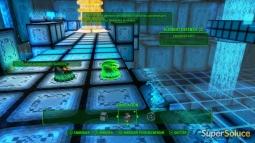
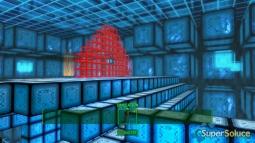
Here, start by recovering all the data blocks in front of you to allow the beam to destroy the firewall, then build a bridge for the collectors (picture20). Once this is done, move forward a little and then go upstairs, from there, jump into the recess on the left (picture21).
20 picture
21 picture
Collect the relay that is there and go down again, at the bottom, place two data blocks and then the relay to divert the beam towards the left firewall (picture22). On the other side of the latter, collect another relay and then shift the installation to direct the beam towards the receiver block (picture23).
22 picture
23 picture
Once this is done, go upstairs and then head towards the last firewall (picture24). There, place blocks and then the relay to direct the beam to the left and thus destroy the barrier (picture25).
24 picture
25 picture
From there, build a bridge for the collectors and then place 3 turrets near the database (picture26). Then turn around and place 2 more halfway to protect the transport (picture27).
26 picture
27 picture
4 Memory
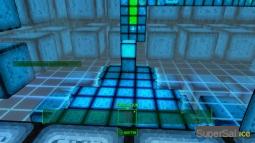
Start by heading to the right and go get the relay and a few blocks (picture28). With these, divert the beam towards the left firewall and retrieve the relay on the other side (picture29).
28 picture
From there, reduce the size of your diversion and send the beam towards the back, then place a few blocks and another relay to divert the laser towards the right firewall (picture30).
30 picture
Collect all your blocks and then go down to the lower level, from there, head towards the beam at the back and deflect it backwards (picture31). Then retrace your steps and place a new relay to direct the laser towards the receiver block on the right (picture32).
31 picture
32 picture
You can now go up to the upper level and then build a bridge for the collectors (picture33). Then place 3 turrets near the database and two others a little forward on the path (picture34).
33 picture
34 picture
5 Memory
Collect all the blocks of data around, then go take over the relay on the platform on the left by building a bridge (picture35). Then retrace your steps and collect your blocks, then head towards the pyramid structure in the center. Here, collect all the possible blocks as well as the relay, then place a relay on two blocks of data in order to reach the firewall on the left (picture36).
35 picture
36 picture
Now head towards the structure on the left and retrieve the new relay, then place a relay on 3 data blocks in order to divert the ray towards the firewall located to your left (picture37). Once this is done, build a bridge leading to the next platform and then, from there, place a relay on 3 data blocks and deflect the beam to the right (picture38).
37 picture
38 picture
Now go back to the central structure and then build a bridge in the direction of the platform towards which the ray is currently pointing (picture39). It will then be a question of recovering all the blocks of data blocking the ray in order to allow it to activate the receiver located at the very back (picture40).
39 picture

40 picture
Now go back to your point of arrival and build a bridge towards the structure at the very back (picture41). From there, go up to the last level and then go get all the blocks around the beam. Once this is done, stand in the center of the structure and then place a data block next to the beam, you can then stick a relay on it and divert the laser towards the firewall behind you (picture42).
41 picture
42 picture
Once this is done, use a bridge to retrieve the last relay located on the platform in front of you (picture43). This done, go get the blocks and the previous relay, then go down to the lower level and build a bridge to join the ascending beam. Once nearby, place data blocks so that you can deflect the ray towards you (picture44).
43 picture
44 picture
Once this operation is completed, go to the level of the two pillars behind you and place blocks to deflect the ray to the right (picture45). Then all you have to do is go near your arrival point and then build a small structure to divert the ray towards the last firewall (picture46).
45 picture
46 picture
Finally, build a collector bridge and then place all your turrets near the database to end this hellish hack (picture47).
47 picture
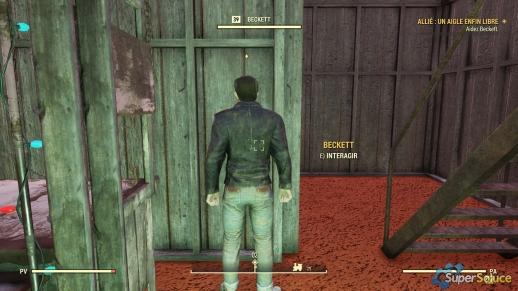
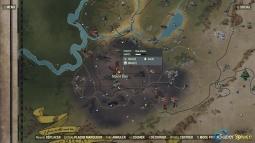
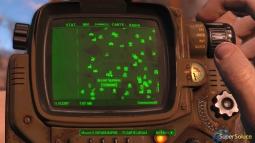
Back in the real world, go back to Acadia and talk about your discoveries with Dima (picture48). You will then have to go to the Grand Hotel in Far Harbor or to Dima's Cache to activate the "Purge the Earth" quest, and to the Vim factory! Pop to unlock the "Life Should Be Like This" quest. When you have visited these three places, the quest will end (picture49).
48 picture

49 picture